Was learning about optimizing and profiling the WebApp and Websites, scratched more about Progressive JPGS and came up with this small chunk of information about progressive JPEGs.
“interesting aspect of performance is perceived performance; not necessarily what your numbers tell you, but how fast a site feels” Harry Roberts - CSS WIZARDRY
If we talk Bandwidth wise, Images are elephants for websites. They are the largest average web site payload about 62%, and they are most often the content gridlock. They are main culprit for slow rendering.
 Chart taken from here, you can find other resources here as well
Jpegs are web optamized photos and they come in two types Baseline jpeg and Progressive jpeg When rendering large JPG images we always feel two kind of encounters either jerks experienced when image loads say 100px image first loads to 40px then line by line rendering is also experienced or we get empty space and BOM out of nowhere image loads. This result in long waits and most of the time layout breaks. What if image is rendered to its blurred (pixelated) state then progressively it enhances its pixels, This result in something user will see seomething rather than waiting for long blang webpage spaces to fill/render. Here comes the progressive JPEGs comes in handy former is called as baseline JPEG. Later sounds worse but it feels faster, the user has something to look at instantly and the quality of the image progressively improves.
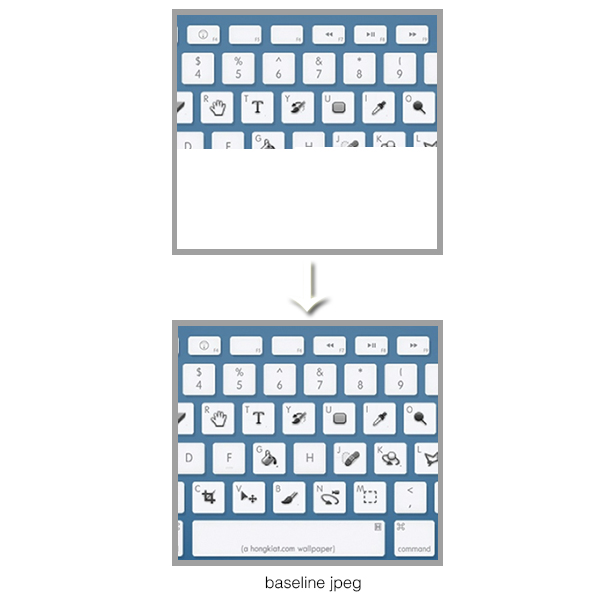
 The above image demonstrates how baseline jpeg is rendered. Baseline jpeg is the full resolution top to bottom scan of the image
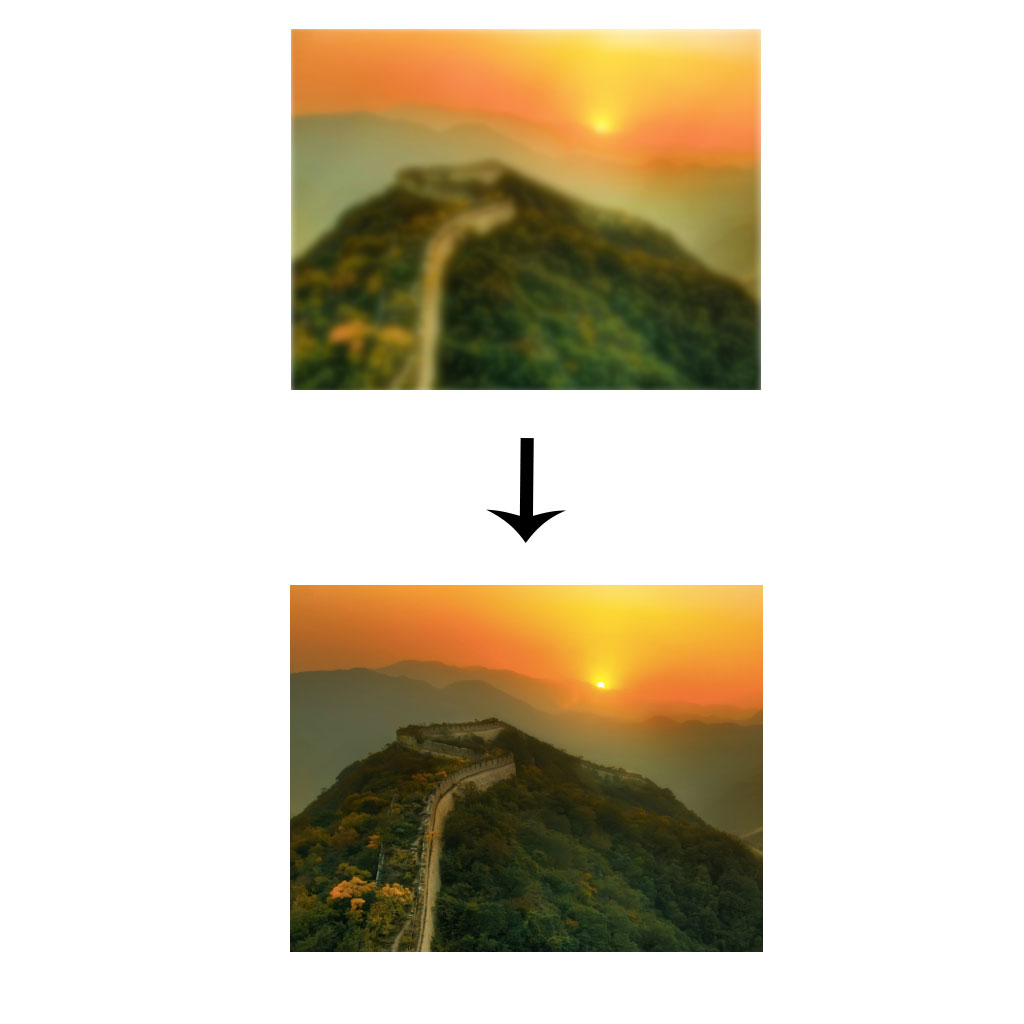
 The above image demonstrates how progressive jpeg is rendered. Progressive jpeg are the series of scans of increasing quality
Progressive Jpegs are relatevely faster hence better. AS per Ann Robson "Appearing faster is being faster, and perceived speed is more important that actual speed"
###Reality check We can Check progressive jpegs on website in three ways
- ImageMagick — On the command line run:
identify -verbose any-image.jpg | grep InterlaceThe output will either be “Interlace: JPEG” or “Interlace: None.”
- Photoshop — Open file. Select File -> Save for Web & Devices. If it’s a progressive jpeg, the Progressive checkbox will be selected.
- Any browser — Baselines jpegs will load top to bottom, and progressive jpegs will do something else. If the file loads too fast you may need to add bandwidth throttling. I use ipfw on my Mac.
We can make a progressive jpeg, we have to consciously save our images into progressive jpeg format in any of the image editing tools like Photoshop, Fireworks, ImageMagick, jpegtran. We need to mind one thing as progressive Jpeg is not a new image format so it takes equal CPU rendering as is taken by baseline Jpeg, It is not a problem for dektop but can be for mobiles if we are handling large image database and serving same on mobile.
we can use Smushit for translating baseline jpegs to progressive jpegs. It can be run from the command line and integrated into our image optimization process. May be in some days i will write blog post on same :)
For Wordpress users: use a plugin known as WP Smushit, it automatically compresses the images using Smushit API and also converts images into progressive JPEGs.